www.NewtonRacing.co.uk
MR2 Roadster
![]()
![]()
![]()
![]()
![]()
![]()
![]()
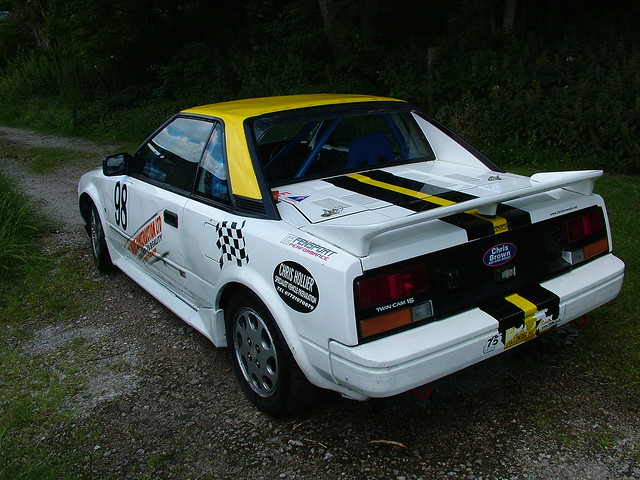
MR2'S have been my mainstay in motor racing, mostly with the original Mk1 AW11 MR2, but now I am preparing a Mk3 Roadster for circuit racing.
Below is my Mk3 Roadster build log and further down you will find the previous MR2's we have owned and raced.
After only a short period back in a Mk1 MR2 and despite reasonable outings, my eyes were turned by the MR2 Roadster while we competed in the MR2 Championship race at Anglesey.
When the Toyota MR2 Roadster first started running, I did look as progression from the Mk1, as the regs were then, there was not a great deal of difference in performance. Since then the regs have been tweaked to improve the overall performance and they now are competitive against the heavier and more powerful Mk2 MR2's.
Building the car to the 750MC MR2 Championship regs, will also allow me to run in the Nippon Challenge.
MR2 Roadster Build
The build plan is essentially split into 4 parts:
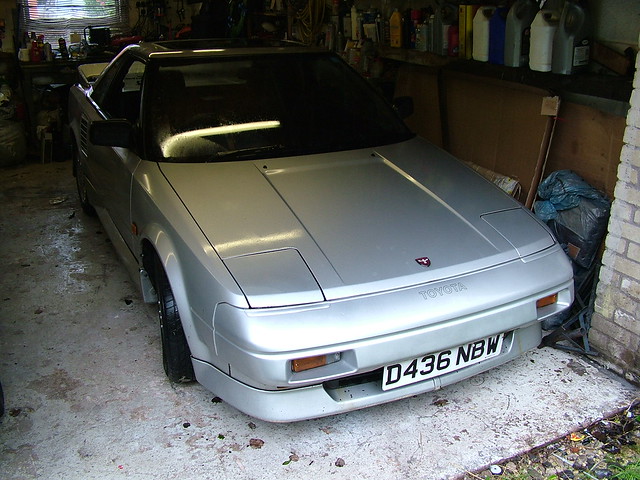
Rather than buying a ready built car, I have decided to prep my own.
The donor is a 2001 EU spec car.
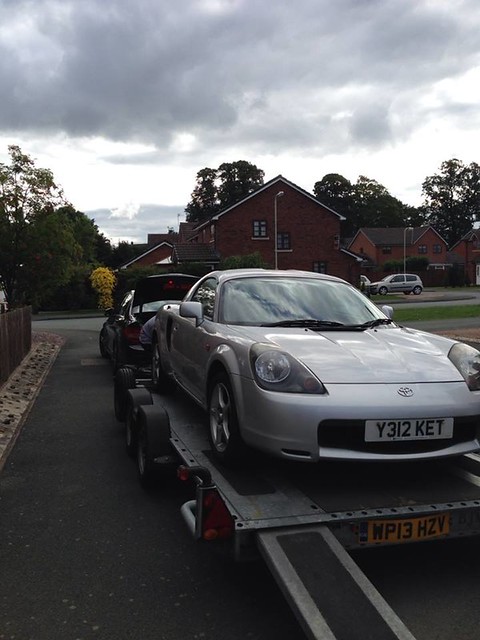
A sound base car, being an EU spec car it has the standard LSD that was optional on the Asia spec Roadsters. With known issues of burning oil & collapsing Cat's. I decided to source a car with a sick engine rather than gamble on a supposed good engine, the car came complete with a desirable hardtop, though the regs. do allow cars to run without roofs, I don't fancy the idea of sitting in the assembly area or grid when it is chucking it down.
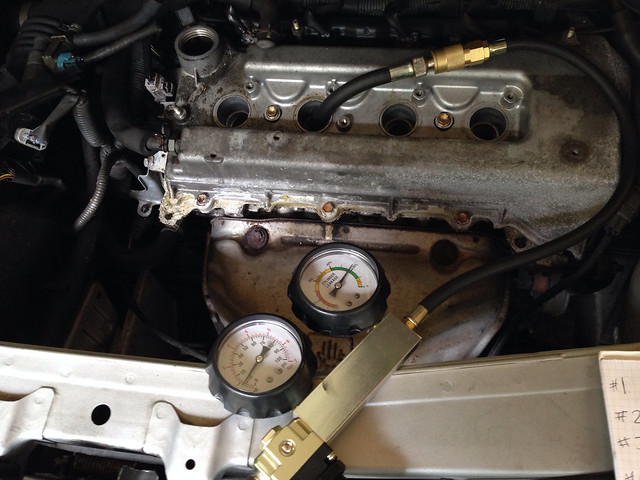
A leak down test gave better results than expected, though a replacement bottom end will be fitted and this one rebuilt as a spare.
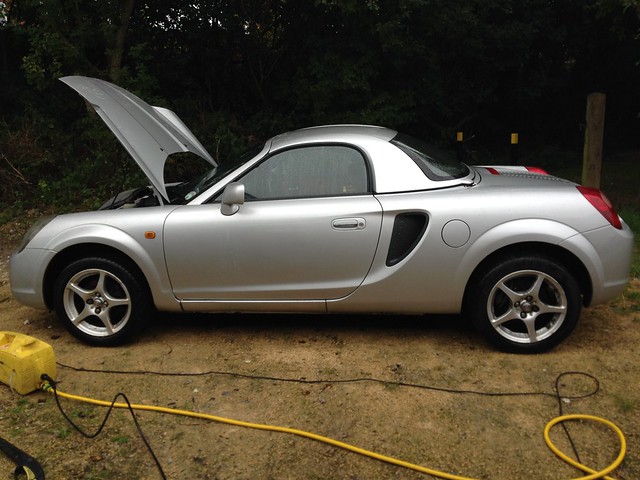
We had originally planned to paint the car white, but as the body is so straight and the silver evenly matched, we will leave it as is and graphic it up from there.
The cage has been ordered from Rogue Motorsport and due late September
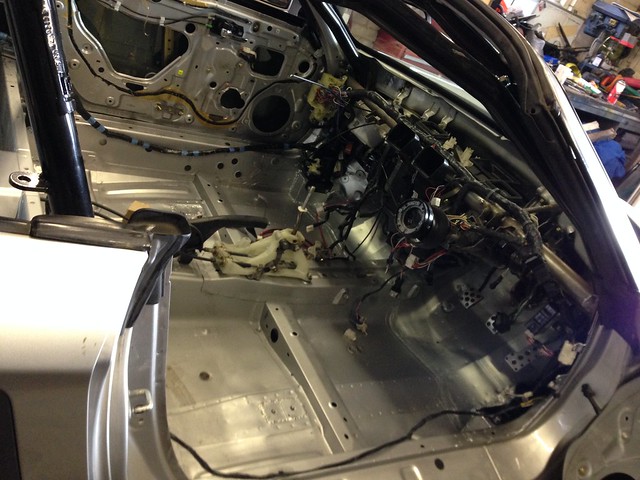
With the roll cage, hardtop mounts, seat mounts and door cards on order from Rogue Motorsport, I began to remove the interior and convertible roof.
I will be thinning down the loom, so started tagging what can be traced back and removed and what will stay. Being my first Mk3 build, it is new to me what I can and can't remove without causing repercussions, so I disconnected the battery and took off the steering wheel airbag and disabled the passenger airbag just make sure they were not loomed in to disable the fuel pump, then disconnected the battery again and unplugged the airbag ECU and tried again, all runs and works fine.
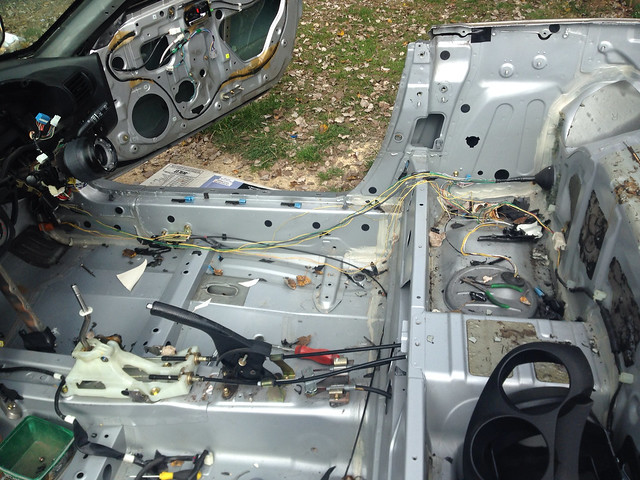
Moving on from there was identifying and tracing back further redundant wiring without effecting other areas, while there is not a great amount of weight to be saved, it does allow more flexibility in the routing of the remaining cable.
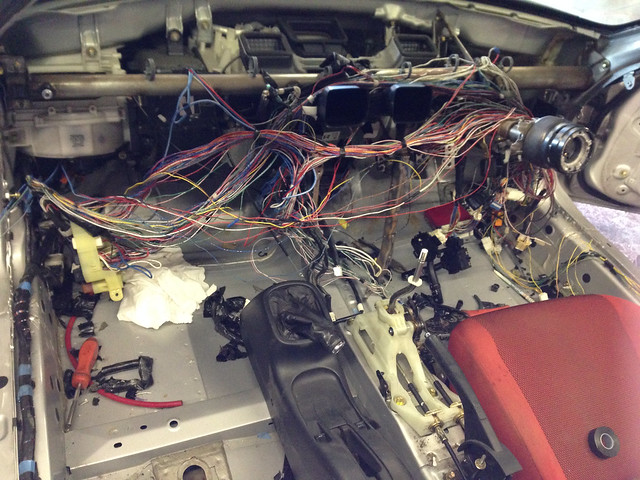
So far there is just under 3Kg of redundant wiring removed. I have also rerouted some cable that will be the ignition and starter circuit.
The Build
It was nice to be at a bit of a turning point of fitting bits, rather than adding to my pile of removed bits.
With as much out of the loom as I was going to get and with the additional switches for Ign, Starter, ABS and PAS loomed in I could remove the dash loom and heater assembly.
With the car now immobilised, I have stuck it up on dollies so I can drag it around the garage.
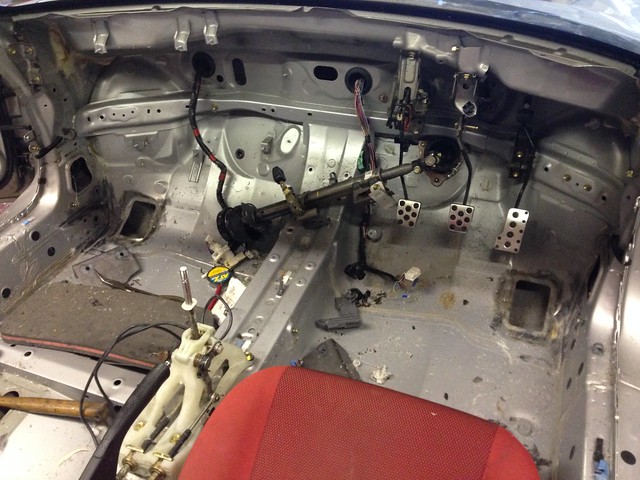
Front floor plates replaced by welded in plates and the N/S under passenger too, the O/S will have the retaining plates for the harness welded in.
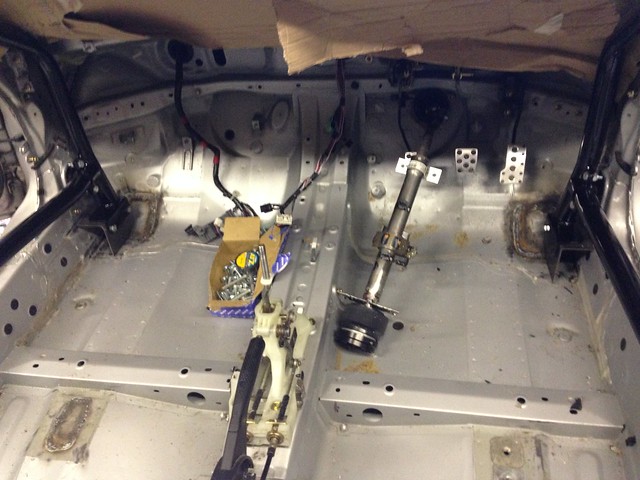

The eagle eyed will have noticed that the front bars to hoop are not bolted yet, they need drilling. This will be done before I tack the floor mounts, then it will be cage back out, fully weld the mounts including boxing in the mounts.
Today the plan was to get some primer on the mounts and finish cleaning off the remains of soundproofing.
That done I though I may as well build up the heater/blower, of the various builds and cars I have looked at, everyone has pulled the heater/blower out. I often wonder why as the factory system without the matrix weighs around 5Kg's.
Today I think I discovered why.... :oops:
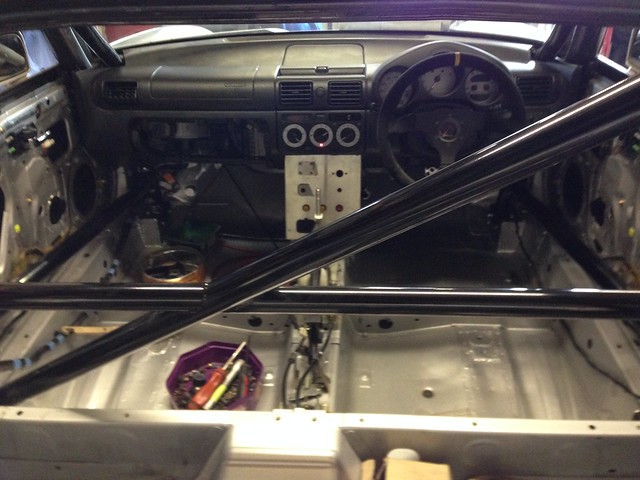
This is the stock set up with the dash pad removed
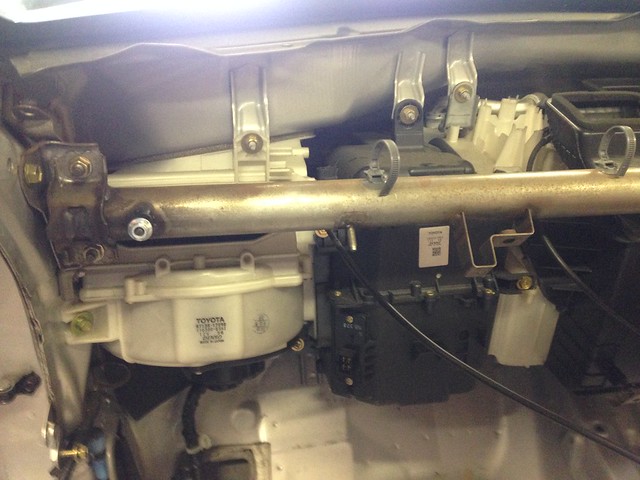
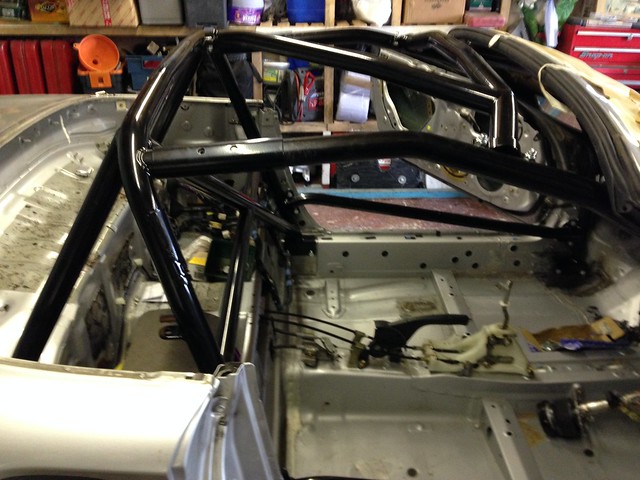
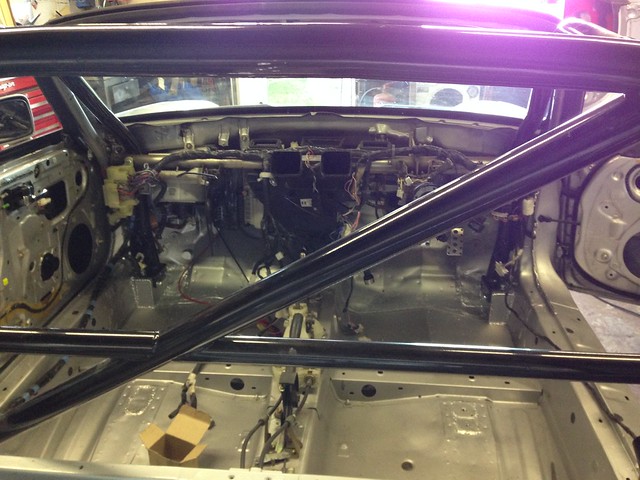
And this is the front part of the cage
It seems the blower fan (far left) and N/S front leg of the cage want to occupy the same space.
Not one to give up easily, I looked at how to shorten the blower set up. The assembly is made up of (from left to right) Blower motor, Evaporator housing (on A/C cars) & Main distribution assembly (with heater matrix).
As the Evap. housing is empty on non A/C cars I played about with taking material out of the centre and joining what was let
With 6cm band taken out is all shuffled over enough to fit and a couple of new fan supports tacked on
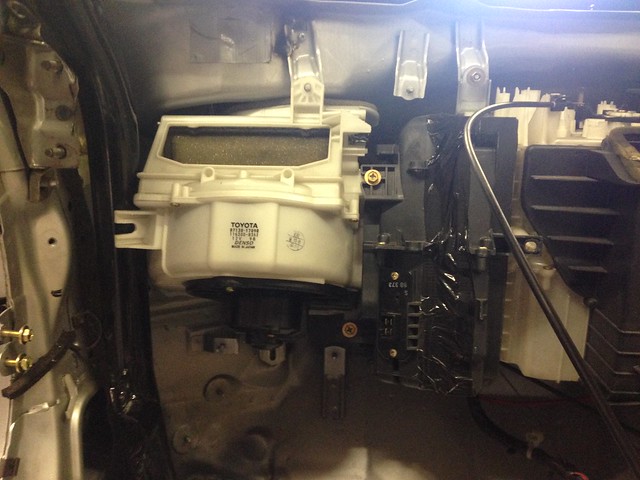
I have just wrapped it in Gafa tape for now and will probably fibreglass the 2 halves together.
The air intake in the scuttle has lost about 40% coverage with the shift, but I don't see it causing an issue.
With the floor dry I was able to position the cage (except door bars) and get the heater/blower assembly back in and the cross bar.
I refitted the dash loom to test the blower and it all appears to function as it should.
Ideally I would have liked to get the dash pad back on yesterday, but I decided to reposition the starter button and a couple of other switches, so that will have to wait until next week.
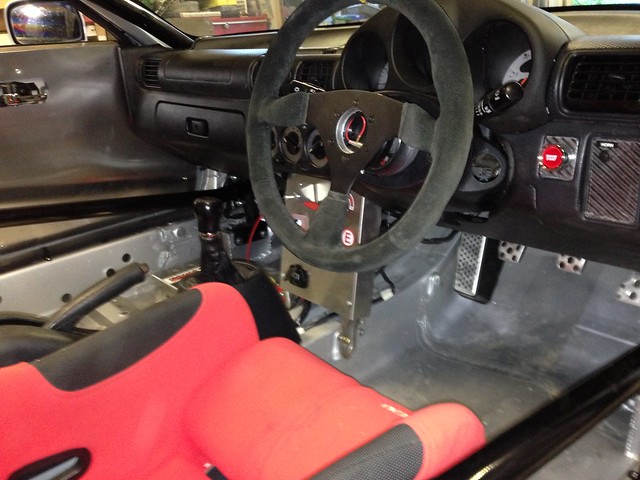
With the re positioned switches loomed in I could offer up the dash pad and trim the corners for the cage bars.
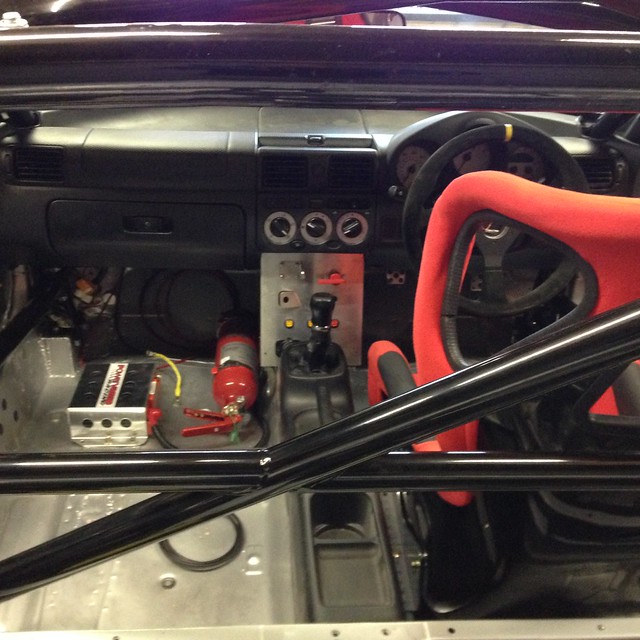
Having one of the Rogue Motorsport switch panels made life much easier for the battery master switch, extinguisher pull etc.
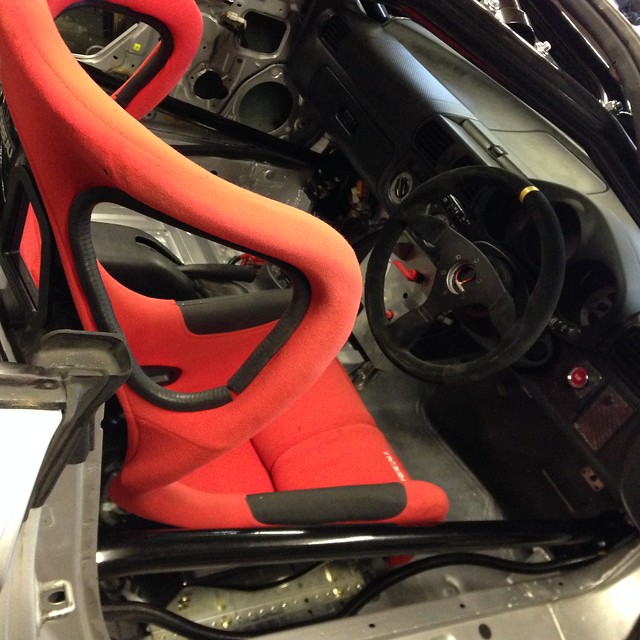
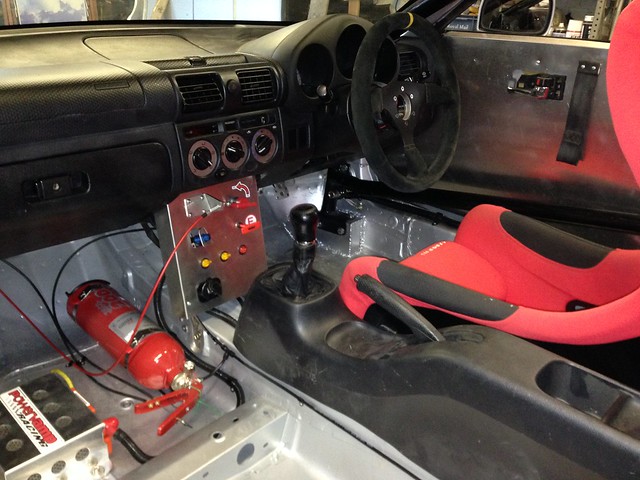
Another small but significant milestone in the build... trial fitting of the seat. I would usually have done this some time ago as floor plates would have needed welding in, but using the Rogue supplied seat mounts meant much less myther.
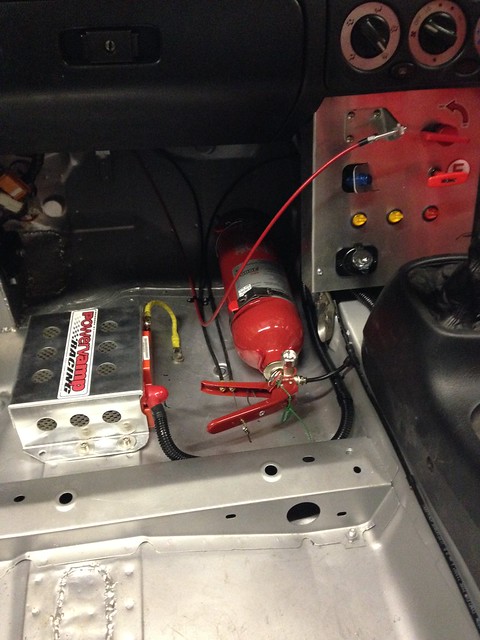
Next job was turning to the front to rear wiring loom and battery. With the old battery gone, along with the battery mount I have cabled though to the BMS and then to the PC680 Odyssey battery in the front
footwell.
The fire extinguisher lives alongside. I have left the space under the passenger seat area empty at the moment in case I decided to run ballast there as well as in the front, depends what weight we end up being when finished.
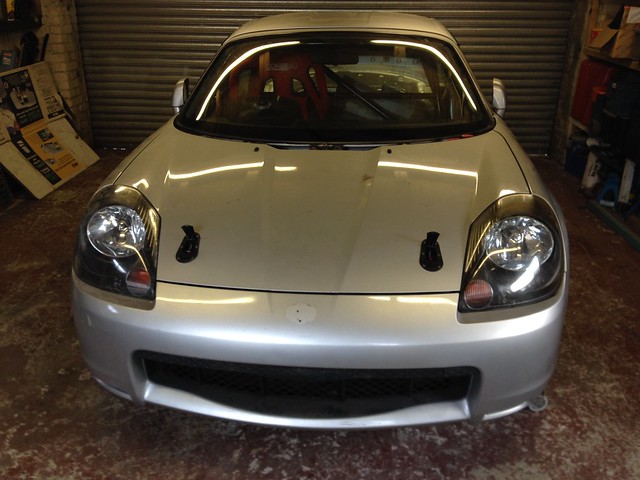
A job I have been doing a bit of and then leaving and coming back to was fitting the Aerocatches, while I like the principle of them and you can usually see the levers up, incase you have forgotten to latch them, they are a pain in the butt to fit nicely, anyway, they are finally fitted and adjusted.
Back to the interior
Jobs still to do inside:
labels for the flick switches
Jiggle the seat position a smidge
Change the quick release steering wheel boss to a slightly longer one
With the interior mostly done it was time to start dropping the engine.
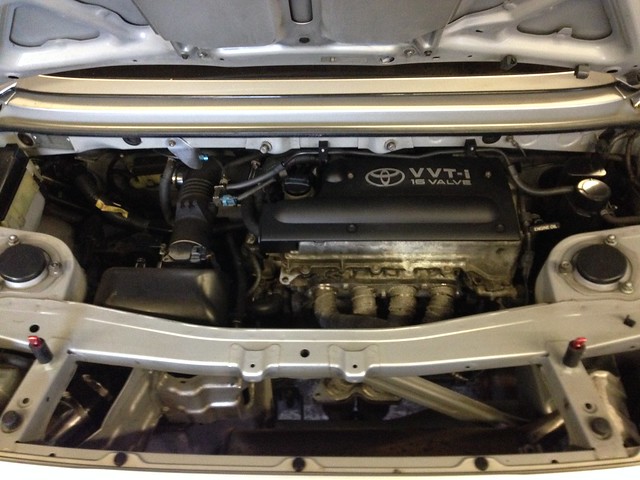
I purchased the car with a known sick engine, originally planned to fit a new Toyota bottom end but a low mileage post 2003 face lift engine became available saving a lot of build time.
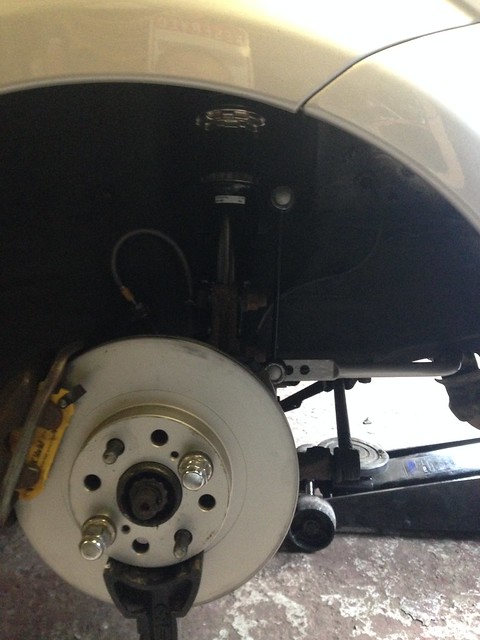
As I plan to replace the suspension bushes soon, I dropped the rear hub
assemblies off to allow the car to be dropped right down to the floor.
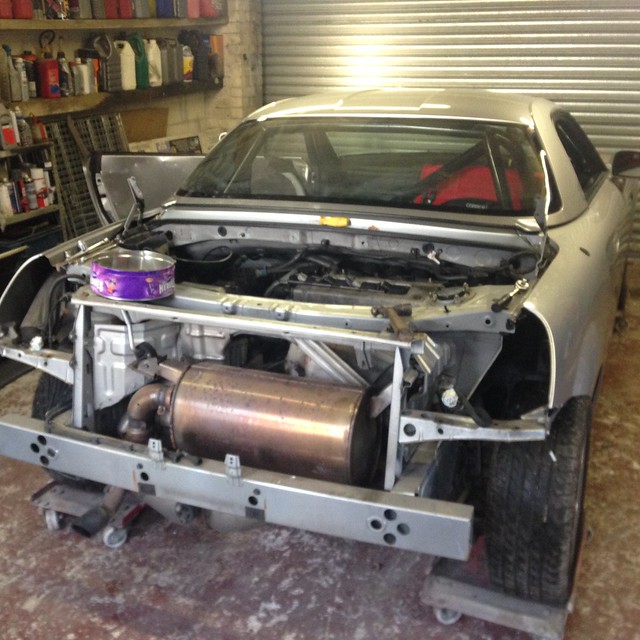
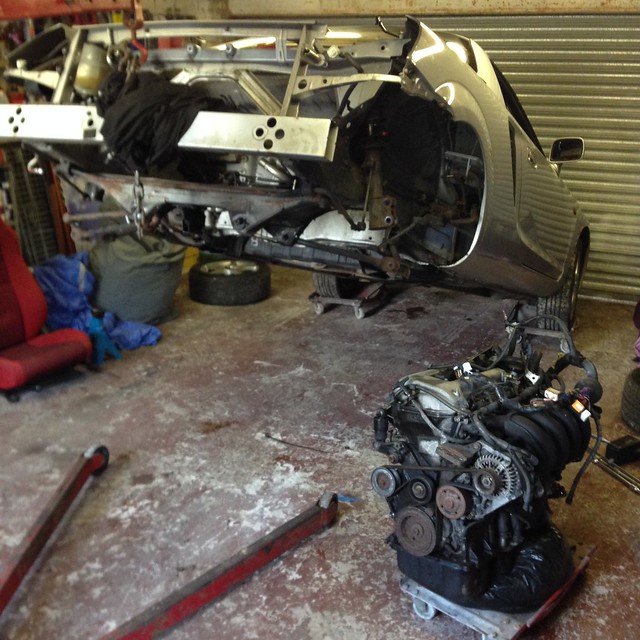
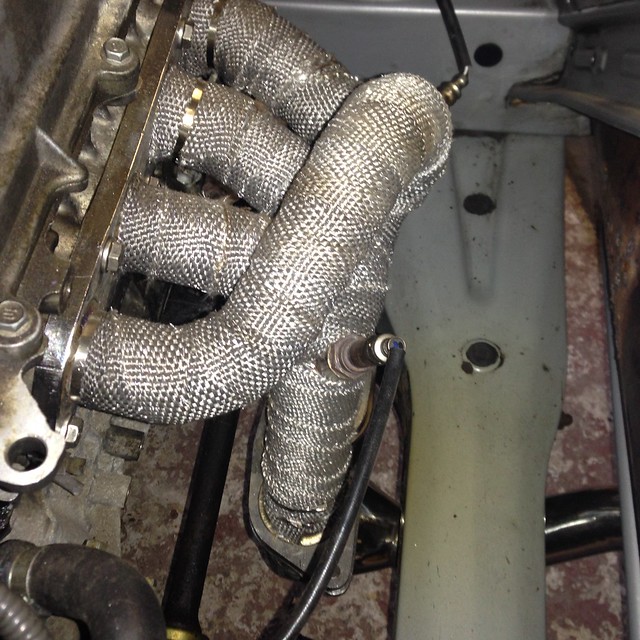
Replacement engine in and fitted with the stainless tubular manifold that gets rid of the pre-cat manifold.
Rear Aerocatches fitted, much tidier than
the regular bonnet/boot catches & Recovery strap
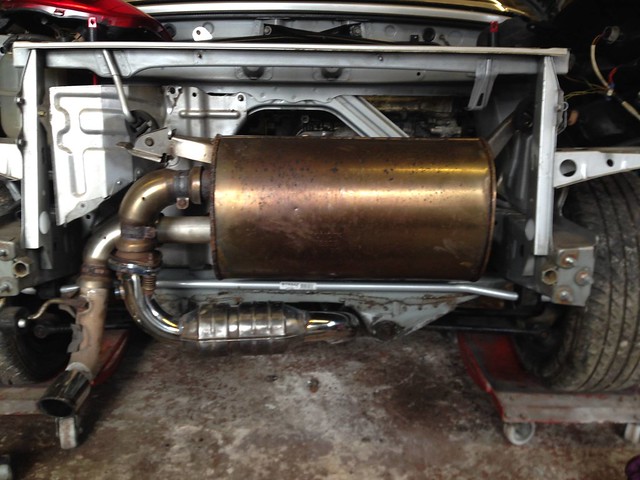
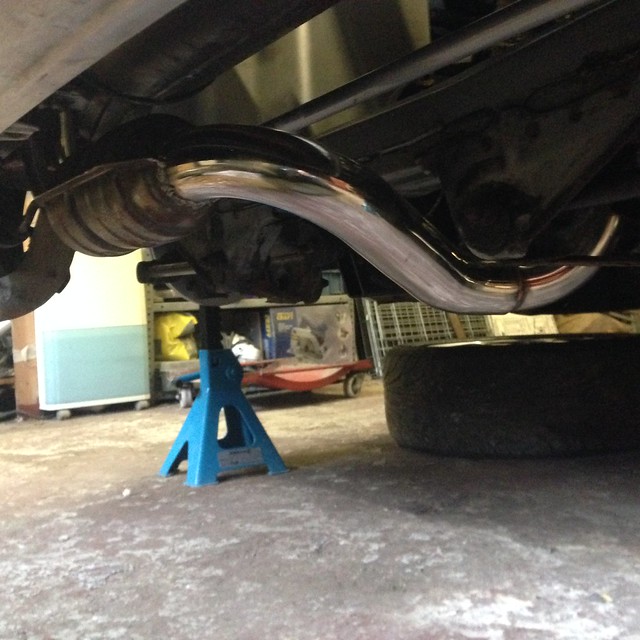
With the new engine in, I turned my attention to the
exhaust, I wanted a better flowing cat, the shape of the stock one does
not lend itself to the smaller sport cats,. I managed to pick up a decat pipe
and welded in a 200cell Sport Cat.
Though there was a planned build process, events often take a
turn. A conversation in December with fellow racer and quality race
parts supplier PartBox.com revealed
that Whiteline Anti Roll Bars were going to be in short supply due to a change
of manufacturing location. This prompted me into ordering the Whiteline ARB's
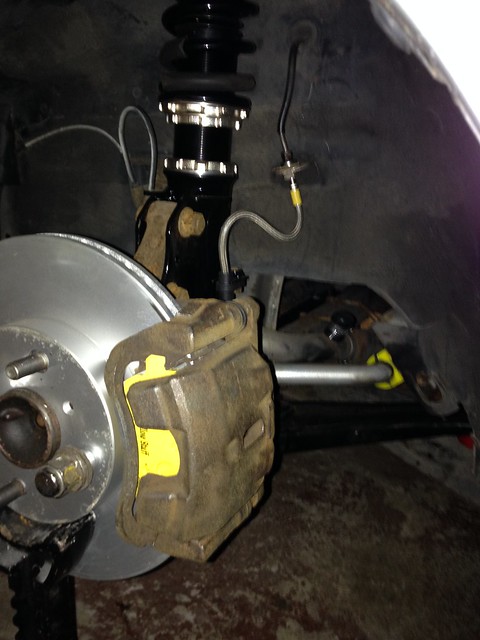
and a set of Polybushes which they also had in stock. While on the suspension, attention also turned to the brakes.
new Pagid discs and a set of HEL braided flexi pipes were fitted along with EBC
Yellow friction. The Calipers were in good condition, so aside from lubricating
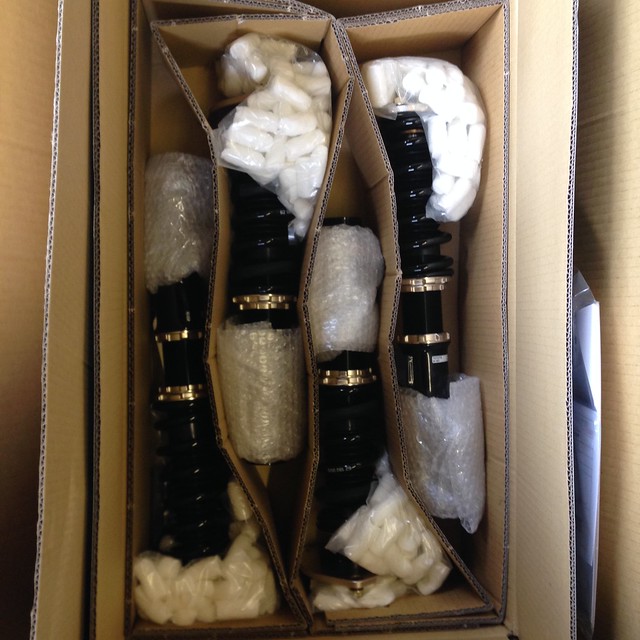
the caliper sliders they required nothing. Next up was the BC Racing coilovers, these are optional in the
MR2 Championship Class C, but it appears all the other C Class cars are running
them, added to that, to also compete in the GT150 Nippon Challenge where
suspension is free, it makes a lot of sense. MR2 Racing are also introducing a
Class B this year for the Mk3 Roadster and I have been keeping a tab on
regulation developments to ensure it also complies with those regs too BC Racing CoilOvers
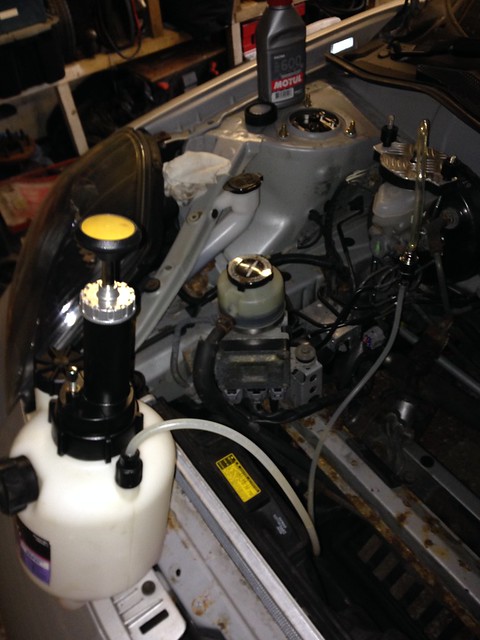
Ride height set as not to upset the roll centre With the suspension now all bolted up, it was time to bleed
the brakes, this is a job Jayne does not enjoy, so some time ago purchased for
me a pressure brake bleeder from Sealey, it works very well on Euro cars with
screw caps, but no Asia cars with push on caps. They require a Universal Cap,
though I use the term loosely, as it's still a pig to seal as the cap flexes as
you tension the securing chain. My solution was a 3mm Ali. bridge to stop it
flexing and it has been great since.
Next up, Camber, Tracking and Tyres ! Juno The one I
never got to race
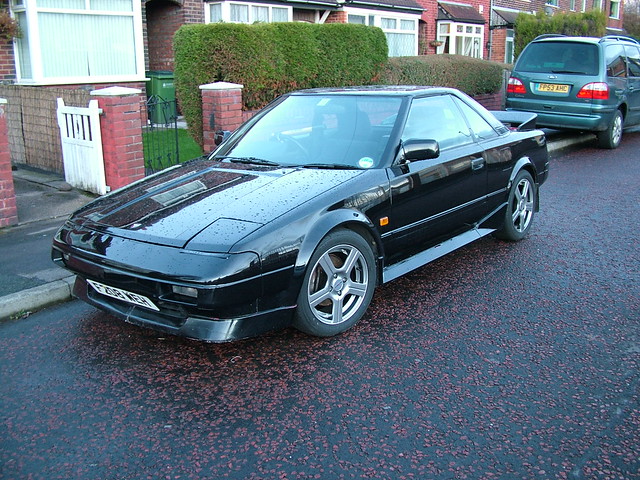
Flintstone
donor car Jayne's
onetime daily driver
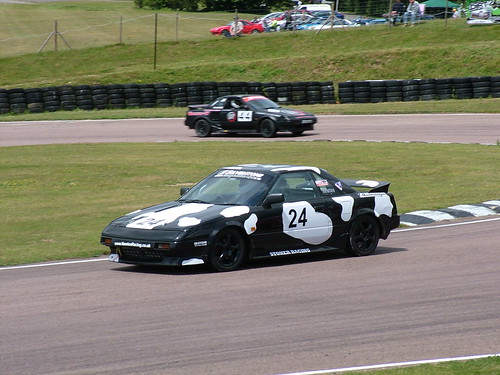
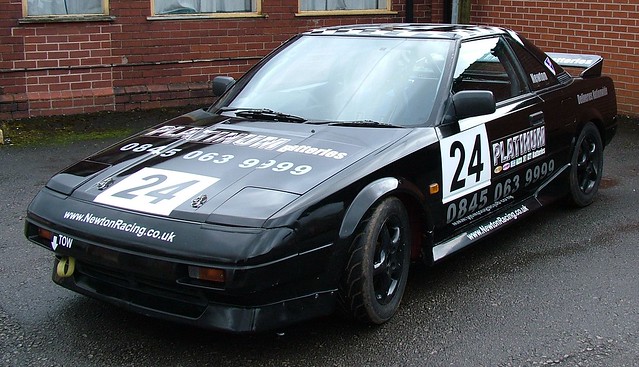
Flying Cow Platinum
Racer
Donor that
became Platinum Racer
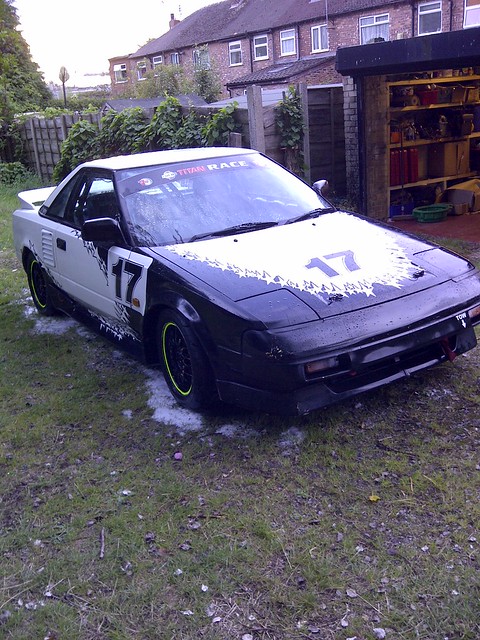
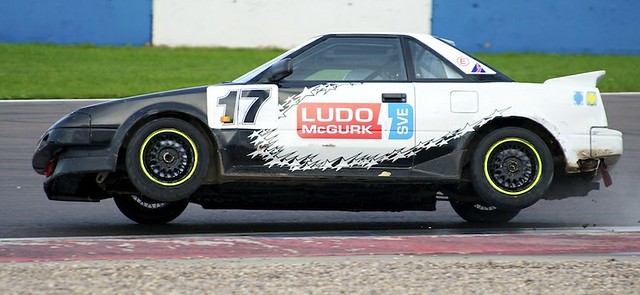
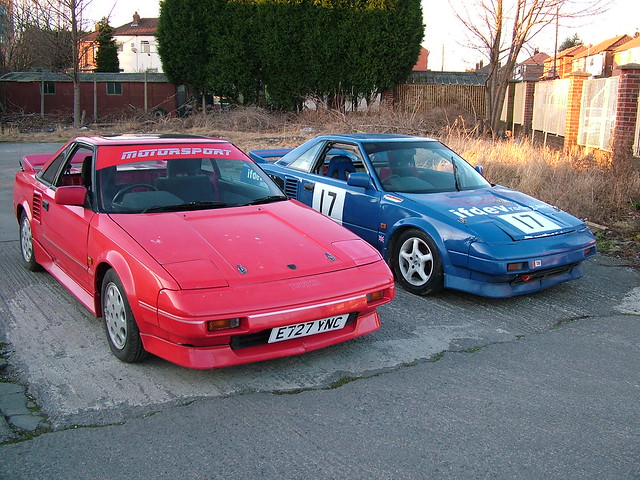
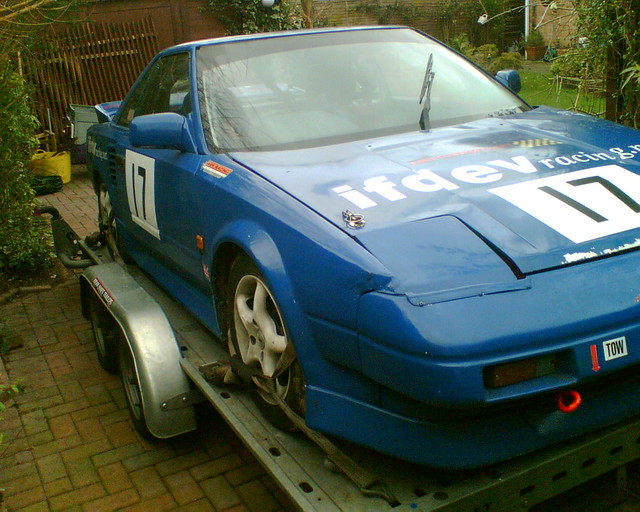
The
original "Blue Meanie" 750MC MR2 Championship Class C
Roadster race car build. MR-S Spyder and MR2 Roadster are much closer to the original
Mk1 AW11 ethos than the mid years Mk2. Lightweight and well balanced make them
ideal for racing.
With
minimal modifications a front running
car can be built for a lower budget than some spend on engines alone in
other
race series, the grid is very close and encompasses drivers of all ages
& abilities. There are
drivers such as myself who have
never raced before 2008, others who have come up through Karting or
found other
racing classes too expensive to be a contender. There is
a very helpful and knowledgeable
Paddock atmosphere, with competitors willing to jump in and assist with
problems
to make sure your out for the next race. Gareth
Newton began racing 2008, racing the Mk1 MR2 in the MR2 Racing series,
after making
his race debut at Silverstone in April 2008 at the back of the grid he
has
improved his race craft and can often be found running toward the front
of the
grid, this was enough to land Gareth the 1st runner up overall in 2008
and
Highest Placed Newcomer Award 2008 MR2
racing &
MR2 Championship race at
Oulton Park, Pembrey, Anglesey Trac Mon, Brands Hatch, Silverstone,
Snetterton,
Mallory Park, Cadwell Park Using the
word
budget racing devalues what the racing is about, it benefits from using
currently inexpensive Toyota Mk1 MR2's (AW11) fitted with the 4AGE
16valve
engine, as modifications are limited the result is very close
racing with
only seconds splitting the grid. Seasons
racing
budget will vary but generally entry fees for a double header race are
MR2
Racing Ł250 & MR2 Championship Ł210 for 2x15 minute races &
qualifying MR2
Challenge,
Roadsports, MR2 race, racing, competition, motorsport, feeder series,
novice,
MR2 racing. 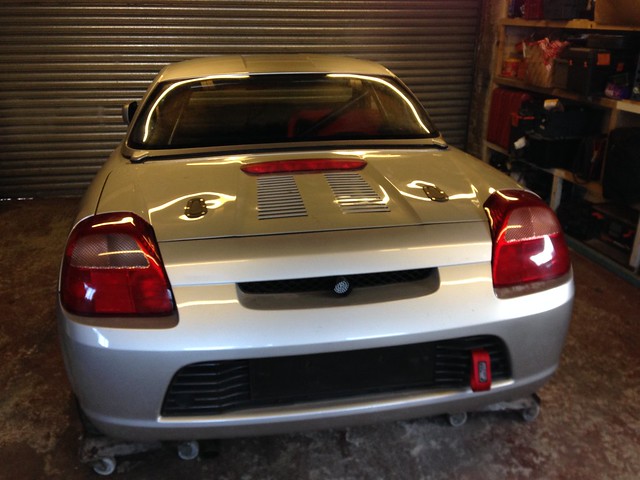


![]()