www.NewtonRacing.co.uk
![]()
![]()
![]()
![]()
![]()
![]()
![]()
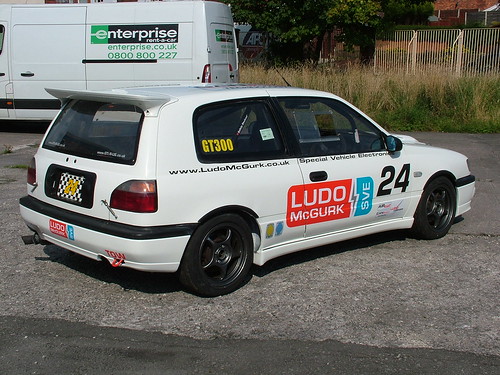
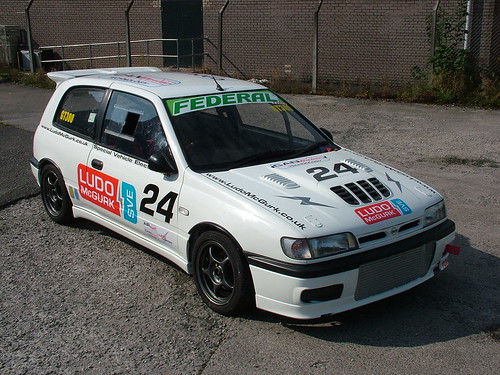
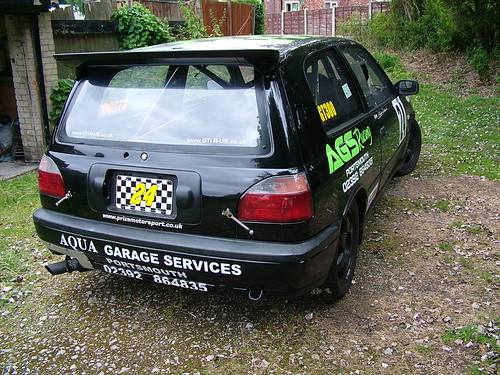
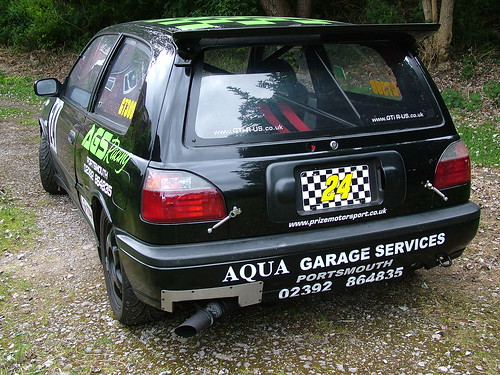
Nissan Pulsar GTi-R
Having dominated the GT150 class in 2012, we began to look at what we would do to move up in the class structure.
My original plan was to convert the Mirage to 4WD Turbo using a Lancer Evo 1-3 as a donor, the conversion is quite straight forward.
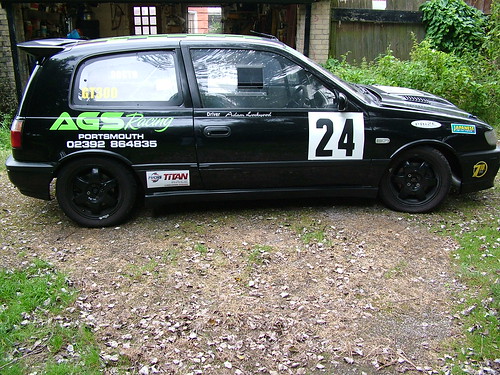
As we costed out the conversion it became apparent that a more cost effective route would be a Pulsar GTI-R that had been prepared by a fellow competitor I used to race with in the Mk1 MR2's.
We both moved to the Nippon Challenge at the same time, I went FWD, he 4WD.
A few teething problems and not being comfortable with the understeer characteristics of 4WD when compared with the mid engined RWD MR2, the car was laid up while he raced a Nissan 200SX
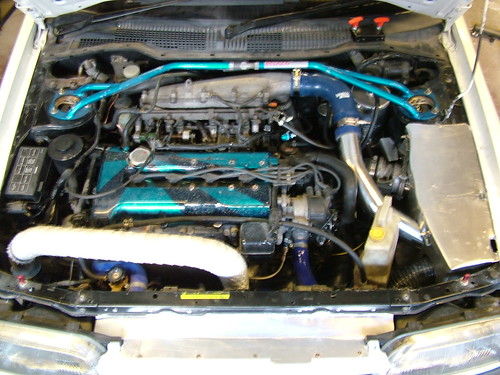
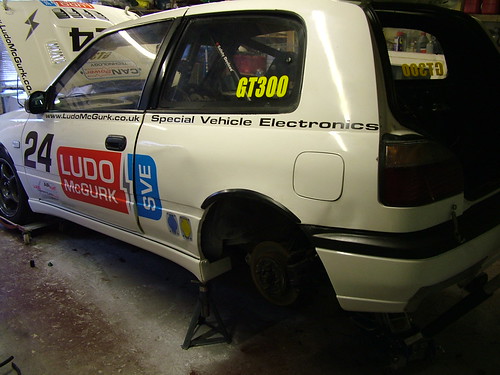
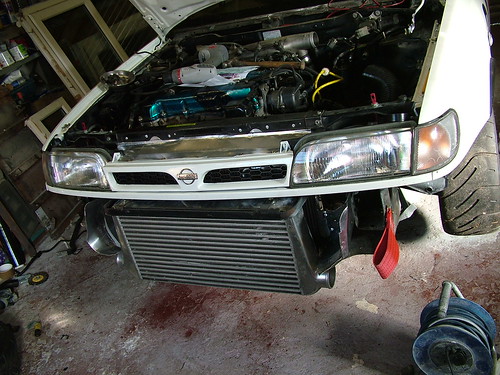
The Pulsar is well prepared, but will benefit from a strip down and overhaul over winter 2012 ready for the 2013 season, this will include a colour change to white to suit the sponsor branding better. We will be relocating the extinguisher and battery, fitting a heat shield for the air intake and a few other changes, all will be updated on here
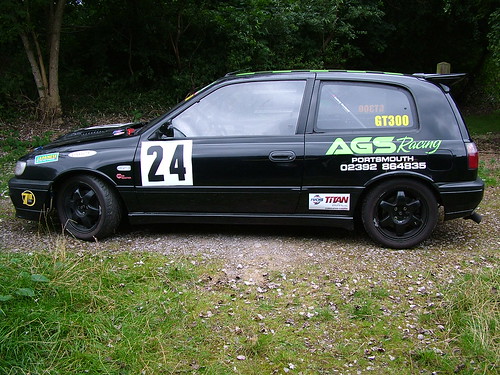
We will be running in the Nippon Challenge GT300 class (upto 300bhp & 1110Kg min)
I believe the Pulsar currently weighs around 1190kg with driver, while there has been some weight saving done, there is more to come out.
The car is currently running 278bhp at 1bar, I will be leaving this as is for now and concentrate on the handling & brakes.
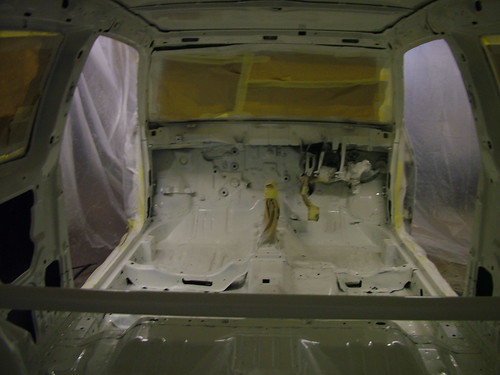
December 2012 - Interior Painting
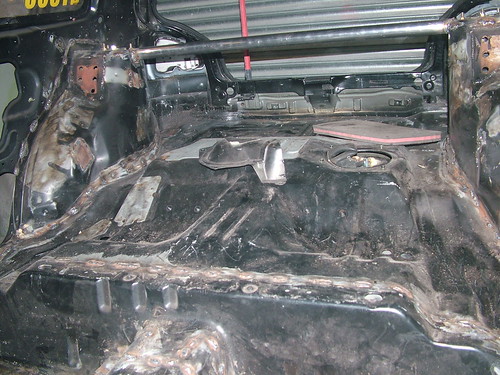
November 2012 - Fuel Tank & Interior
Following the engine failure at Rockingham, it was certainly bottom end, but just how bad...
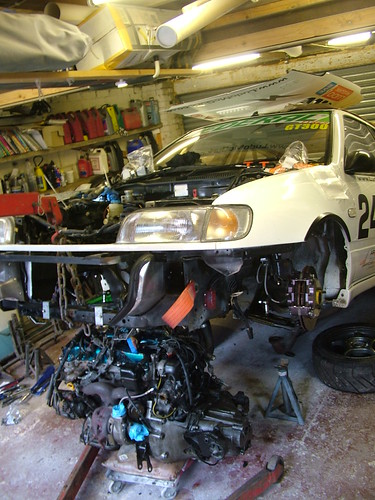
I am getting to be a bit of a dab hand at dropping the engine on the Pulsar on my own and had the unit out and on the engine stand without much fuss.
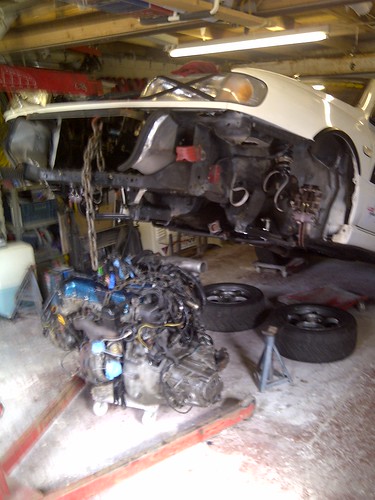
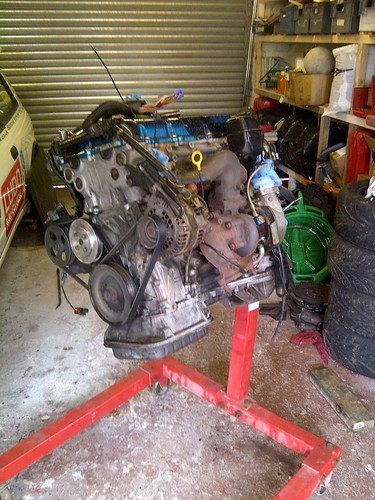
The metallic sheen to the oil promised a tale of woe when the sump was removed, not to be disappointed the big ends had given up. Given the lack of time I was able to secure a Norris Designs Stage 1 Forged engine, not quite as high spec as my sick engine, but more than suitable. I decided to replace the Big Ends and Mains with ACL race bearings just to be on the safe side, along with a new set of ARP rod bolts.
This means I will miss the Silverstone GP race in late April, I expect to be out at Castle Combe
Feb 16th we were booked on a track day at Oulton Park to run the car and highlight any issues. Well we highlighted a couple of key issues
After the sighting laps I came in
after 1 flying laps as the boost was going too high and the clutch slipping,
back in the garage I also found the oil cooler was leaking where the union is
welded/soldered into the matrix, I had no way of joining the pipes so elected to
remove the whole cooler and pipework and just do short runs while we traced the
boost issue.
Through the day we were trying different settings on the EBC (inc bringing the
overboost function down to 0.7bar) and even tried running (what appeared to be)
the stock set up and still over boosting.
Every run was the same so we ended up short shifting, but I did get to get a
feel for the car and the new Wilwoods
I considered a non functioning actuator, but rigging up a 12v tyre compressor
proved it did work, though unable to test by how much.
Resorting back to try the EBC for one more run and bypassing the stock set up, I
did not have my port blanks to hand so I used a piece of pipe to link the
factory boost solenoid, went out and the boost was great with no evident clutch
slip.
Great, I thought we had sussed the EBC settings...
Back home Saturday night, it niggled me that the EBC was set to 0.7bar and the
last run we had a steady 1bar, a bit of googling later I turned up a cheap GTi-R
mod called the "1bar loop", which involves linking the factory boost
solenoid ports to give 1 bar
Then thinking back to when I ran the car at Mallory last year, we had 1bar of
boost and when I tidied up the engine bay it had a short piece of pipe linking
the pipes, believing it to be obsolete I used port blanks...
With a few weeks before Snetterton, I have got stuck into changing the clutch
and replacing the oil cooler.
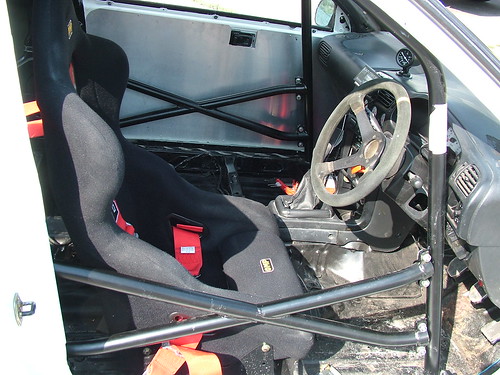
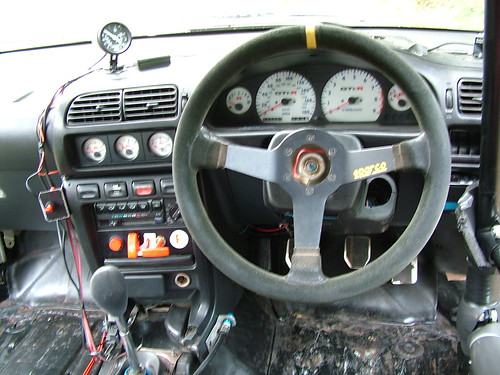
Re-assembling the dash was straightforward, the changes I had made to the loom made routing easier
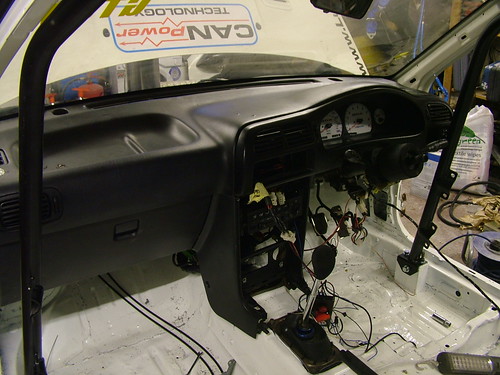
I made a new switch panel for the (now internally mounted) master switch along with the Extinguisher pull and additional on/off switches
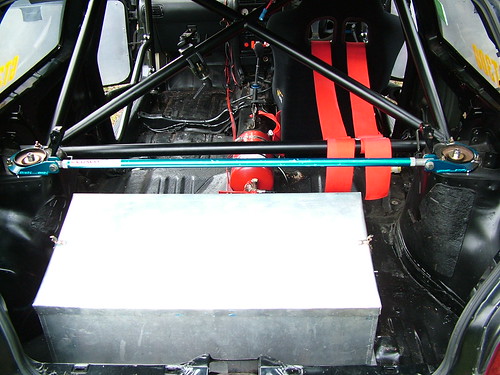
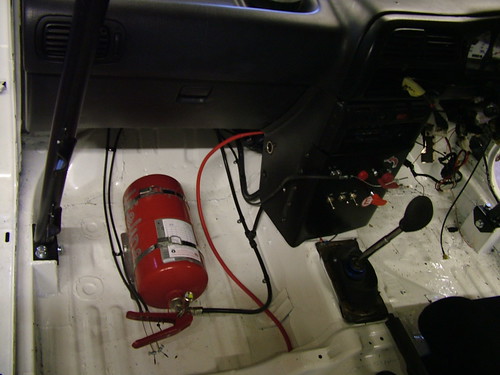
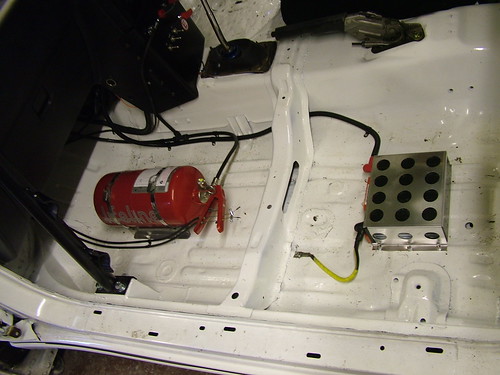
The Fire Extinguisher and pull cables were mounted along with the battery to the passenger floor, all cables were P clipped to keep them tidy

With the interior pretty much as built up as I want it at the moment, next job was mounting the swirl pot and second fuel pump and make a cold air box.
I made up a simple bracket for the Swirl pot to mount on
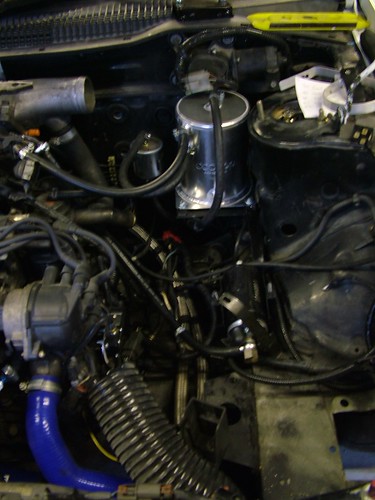
With the intake pipework temporarily refitted, I could bend the air box up to suit
The cold air feed into the box comes from a feed to the side of the radiator and intercooler.
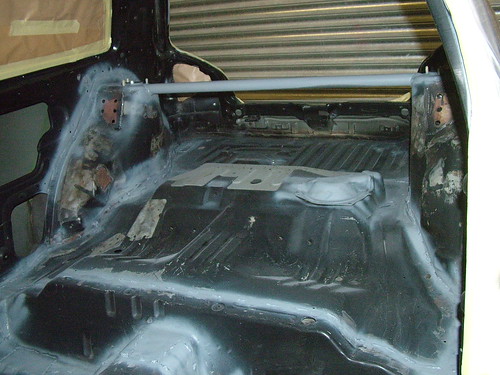
Before I could prepare the interior for painting I wanted to box on the roll cage mounts, fortunately Safety Devices supplied me with pieces of plate to make the job easier.
I was also able to trim out some more wiring and add some additional welds on the floor areas.
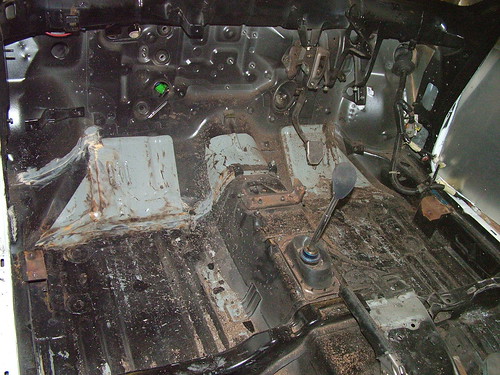
With the original paint keyed and primer on the new welds, the boxed in mounts are just visible
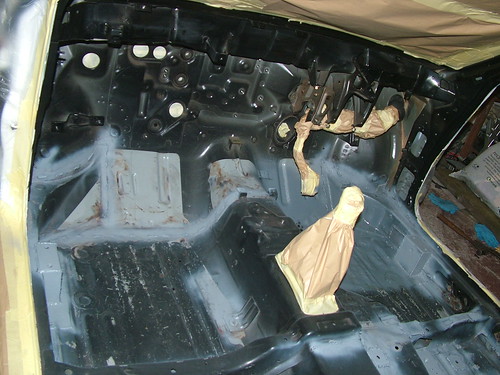
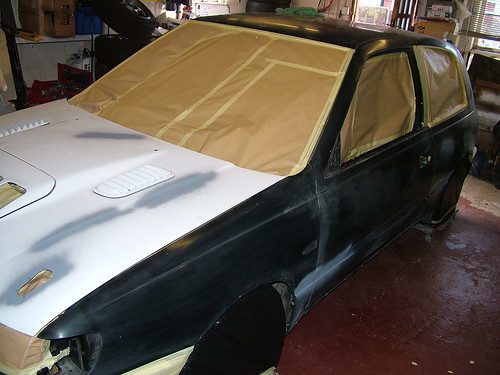
With 2 pack paint getting everywhere, I masked out the body of the car and then used my trusty "Dexter" sheets around the garage to keep the paint off everything else !
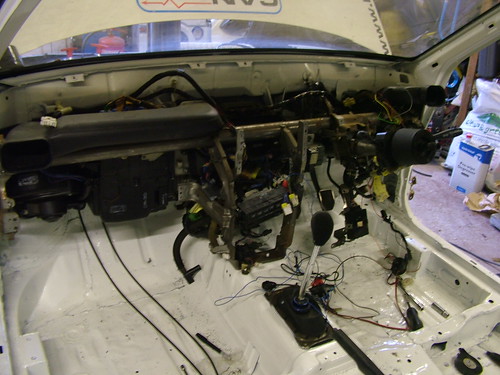
Refitting the loom.

The engine bay work is on hold now as I temporarily move onto the interior, mainly due to the necessity of removing the dash to allow the rewiring of some of the gubbins and removal of the A/C condensor and heater matrix, along with the remainder of the soundproofing.
My original plan was to fit a swirl pot in the alloy box at the back with the small foam filled tank, I decided to take a step back and look at the fuelling situation.
In addition to my racing with the Nippon Challenge, I occasionally race with the CSCC, they visit my local circuits Oulton & Anglesey.
The drawback being a 20ltr tank will not suffice for 40 mins of a CSCC race, I was not convinced a larger tank at the back was the answer so I have gone back to a stock factory tank and the swirl pot will ensure constant fuel.
My thinking behind this has been, the factory tank is low down and between the axle lines, the old set up was high up and outside of the rear axle line.
A compete tank and all necessary bits were easily sourced.

Dropping the rear subfame a couple of inches gave enough room to slide the tank in.
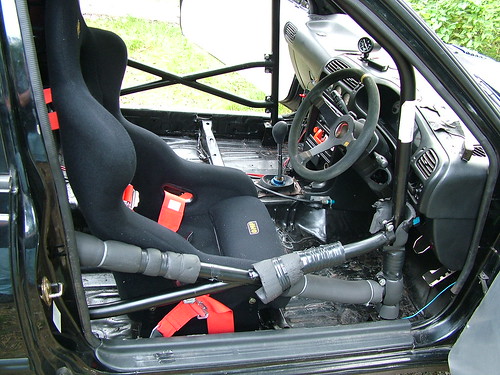
Next job was get stuck into the interior, before I remove the dash I wanted to make new seat mounts while the column and pedals are in place and before I could start chopping some of the metalwork away to facilitate this I needed to remove the wiring loom that runs through the interior.
I plan to re-route some of the loom so spent some time removing redundant cable and plugs, no tangible weight benefit, but certainly easier to work with now.

Once the static exhibition was
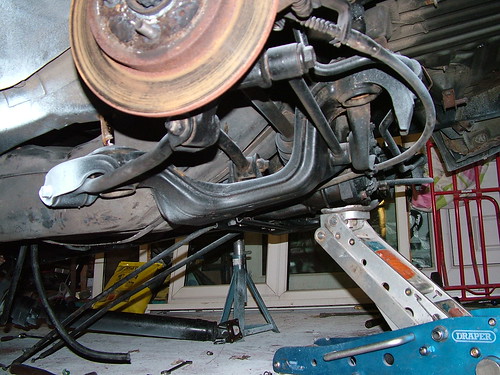
completed it allowed me really get started on the preparation. As I will be staying on 15" rims to suit the (current) Federal FZ201 control tyre, the biggest brakes I could fit were 280mm (11"), I went for the uber light 2 piece disc and Wilwood 4 pot
calipers, these were sourced from Freaky
Parts
Not only have I gained in swept area, there is a significant weight saving too.
The weight of the original Disc & Caliper per side was 12Kg, the new set up is 6Kg per side.
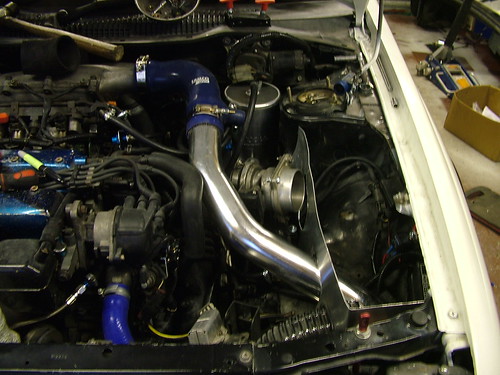
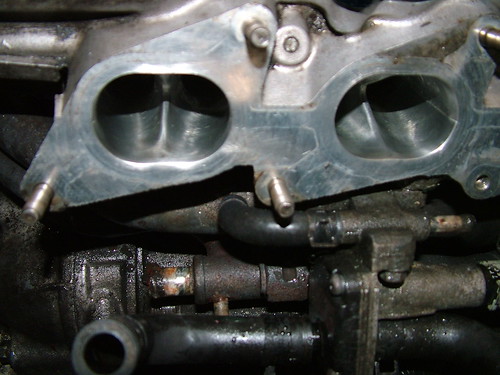
Though the ABS had been disabled in the past, the pump and pipework were still there. Not having the hands
the size of a 9 year old child I opted to remove the inlet
manifold to allow easier access
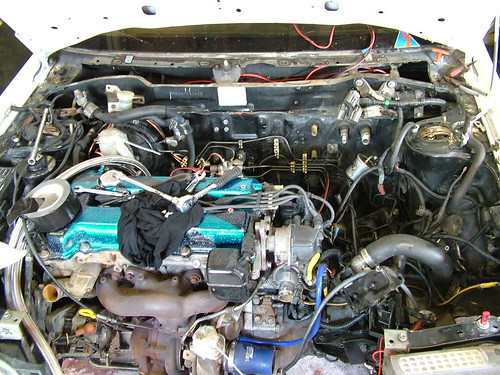
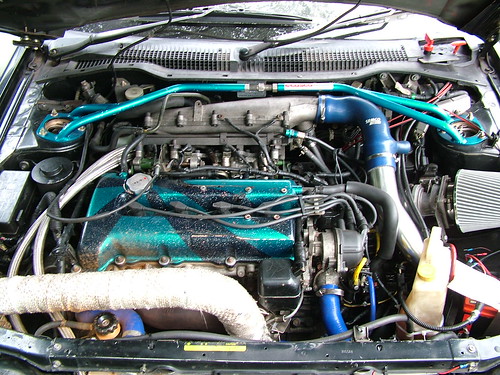
With the inlet off I was able to re pipe to suit its non ABS status and also re-pipe the some of the coolant pipework as it had previously been bypassed from the matrix, just a bit tidier now.
With the inlet off I was able to see the head had some nice porting and polishing done, the previous owner had not mentioned it to me, so a nice little bonus.
Another nice bonus was finding the ECU is a JAM Racing one with a daughter board, speaking to
one of the GTI-R specialists, this spec is optimised for 1.2bar.
Currently running 1bar, so a dyno session early next year and we will check the fuelling is ok and if so, eek a little more out to get us closer to the 300bhp mark.
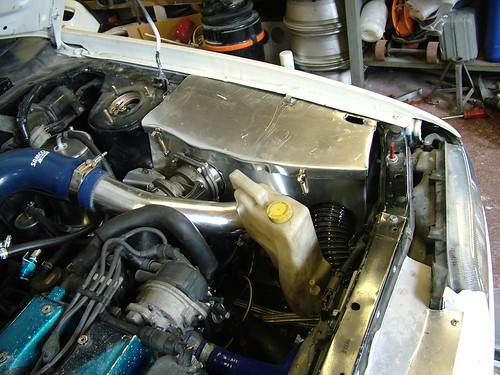
In the quest to keep the cooling in check I have panelled in around the radiator, so any air coming in goes through the rad and can not escape around it.
I have also moved the oil cooler to the middle of the cross member, though it will pick up warm air off the intercooler, it will gain more airflow than being off set behind the O/S duct.
Additional pieces have been added either side of the intercooler so all air entering is utilised, there is also now provision for a cold air feed to a (yet to be made) air box.
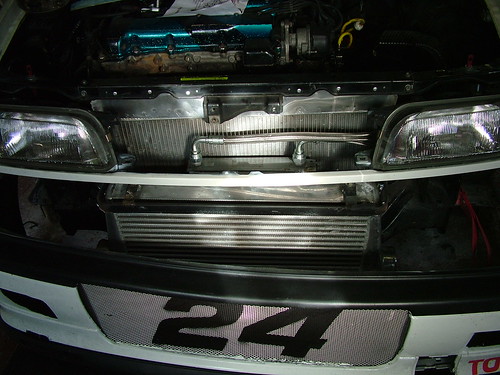
It does not show up very well, but the top of the grille to rad is also panelled in.
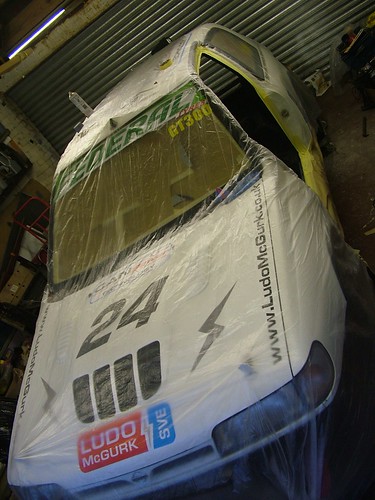
Normally an overhaul like this would leave the painting until last, however an upcoming exhibition by my sponsor Ludo McGurk SVE led to a request to have the car on the exhibition stand. Fortunately having some time booked off in September enabled me to paint the car and the graphics will be applied in the next couple of weeks before the exhibition.
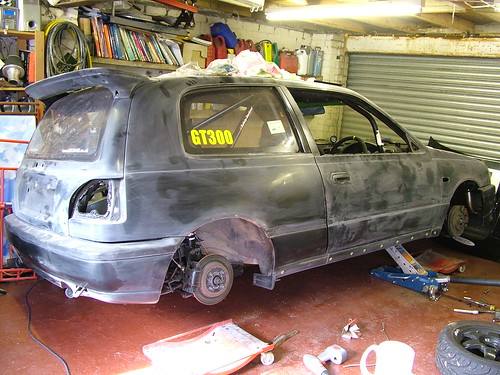
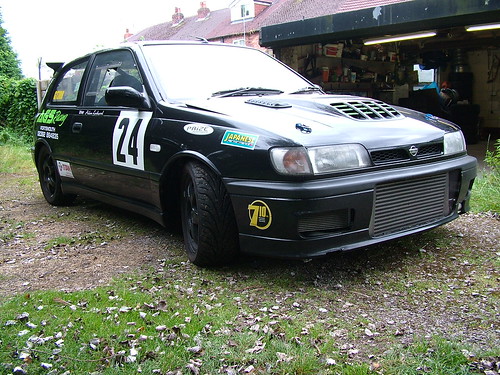
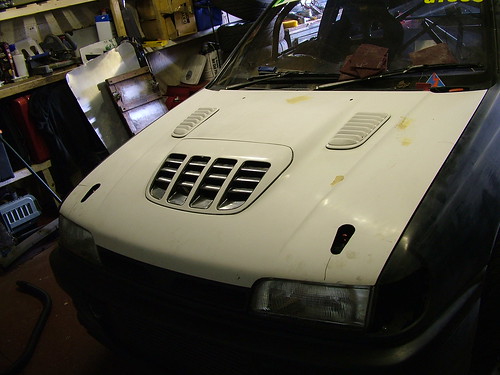
One of the areas I was not happy with the car when I ran it at Mallory was the single skinned bonnet, even on the short straights it was bowing. So I sourced a replacement and decided to change to Aero catches, rather than traditional bonnet pins. An added benefit is that if the bonnet is not secured you can see the arm sticking up.
Once masked up and my Dexter polythene sheeting hung I laid the first coats on, unfortunately a reaction on the drivers door stopped me until the following day when I was able to rectify and continue.
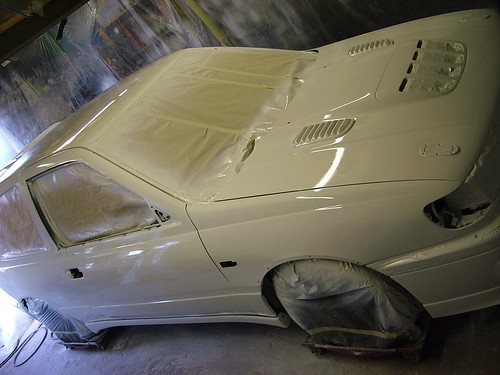
Paint finished and built up, the sponsor graphics were added
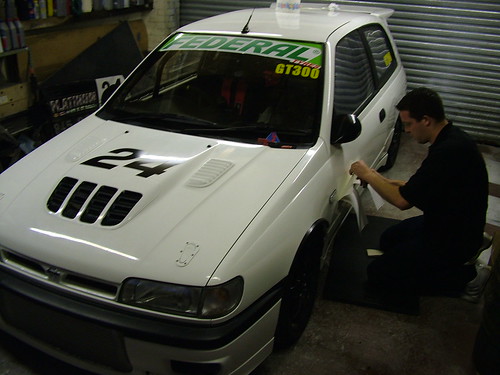
Pretty much ready to go for the exhibition display